Images tab is a starting point to work with DAEMON Tools Pro. Here you can store all image files, virtual hard disks, ZIP and RAR archives to get the fastest and easiest access to them.
The screenshot below shows Images tab with its contextual menu that allows you to add new image files manually or automatically, create some folders, delete the files that where removed or replaced and can't be access anymore and adjust how to sort and how to view the files:
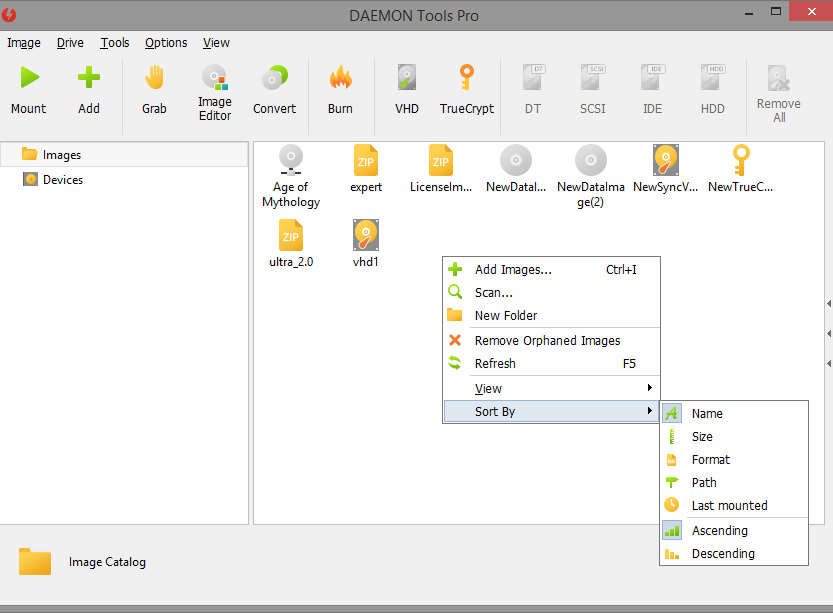
The default view is Icons, but you can switch to the list or the table if needed.
Each image file on Images tab has its contextual menu too. The default one consists of the following items:
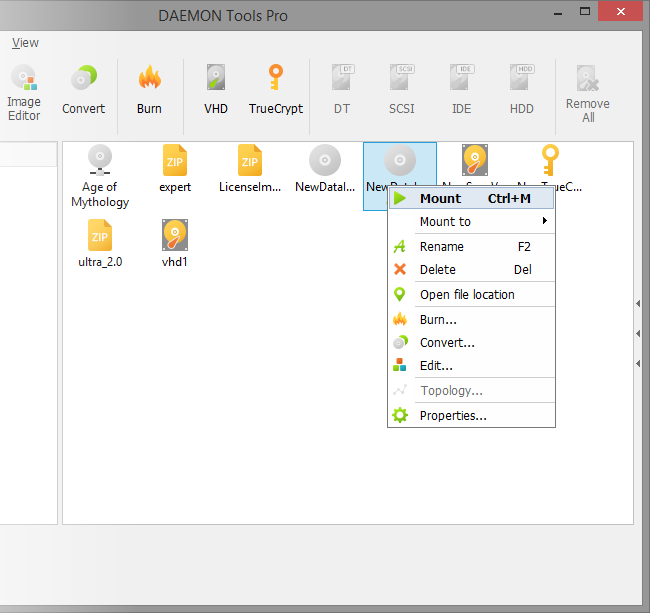
- Mount / Unmount option creates a new DT drive to mount the chosen file;
- Mount to submenu allows you to choose the new or existing drive to mount;
- Rename option changes the name of an image that appears on Images tab;
- Delete option allows you to remove an image from the tab. Also, you can delete the image file too if you check the relevant option in the confirmation dialogue that appears next;
- Open file location option redirects you to the folder in which an image file is stored physically;
- Burn option allows you to burn the chosen file to disc;
- Convert option allows you to change the format of an image;
- Edit option opens an image file in Image Editor so you can change its structure and save again;
- Topology option shows the relevant information and is available for some types of secured images.
- Properties options shows all file parameters including the quantity of sectors, the compression status, the path where the file is stored, etc.
Note that virtual hard disks, ZIP or RAR files have another list of the available options.
Adding new images
Since DAEMON Tools Pro 7.1, you can add new files automatically using Scan option. Scan window will appear by default on the first start of the application, and later you will be able to call it again from Image menu or the contextual menu of Images tab.
Also, you can add new files manually one by one. Too add a new image, click the relevant icon on the toolbar or choose this option from Image menu or from the contextual menu of Images tab. Then you will be able to find the needed file on your hard disk or in the local network. Also, you can drag and drop some image from Explorer.