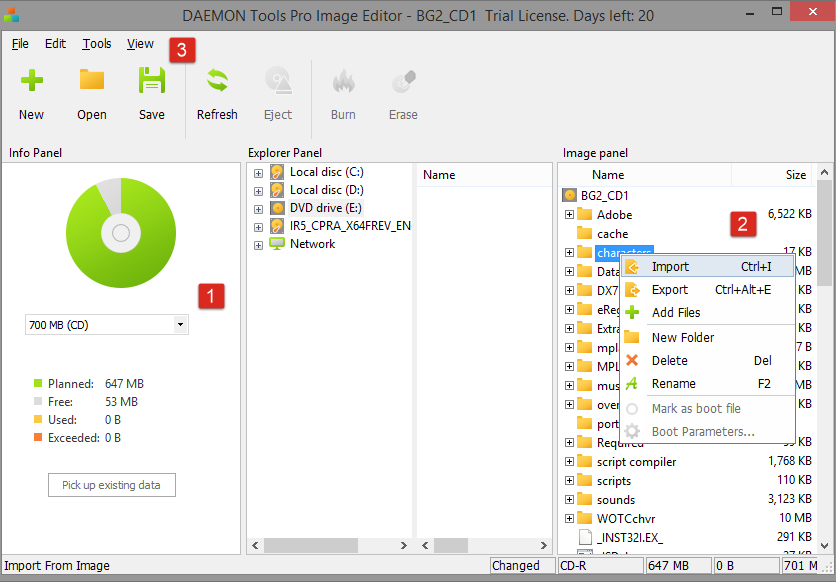
To create a new image, go to File menu and choose Create a Data Image or Create an Audio CD Image. Also, you can click New icon on the toolbar for the data image or import Audio CD or other files from an already existing image.
Here you will need to perform several steps:
-
Choose an image size in Info Panel
-
Add files or folders to Image Panel. Also, you may import some data, rename or remove the files; or create an image from the files of the physical disc using Pick up exisiting data button. If you are creating an Audio CD image, you will be able to listen to the tracks you've added.
-
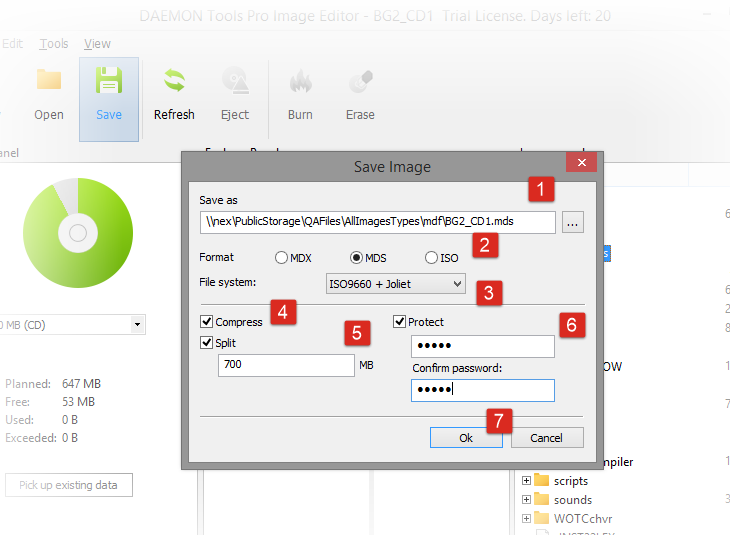
Click Save icon on the toolbar or the relevant option in File menu. You'll get the next list of available settings:
-
Choose the name and the path to the output image.
-
Choose an image Format. Note that some settings are available only for MDS format.
-
Choose File system of the image. Note that you can't add files more than 2GB if you choose UDF.
-
Check Compress option in order to reduce the size of the image.
-
Split the image in volumes. Most often this option is used to create several volumes of an image file and burn them on CDs or DVDs. After checking this option, you will be able to redefine the size of the volume.
-
Protect the image with password. After checking this option, you will be able to enter your password and confirm it.
- Click Ok button to begin creating an image or Cancel button to return to the previous step.
-