To burn a data disc or an Audio CD, create a new project or open the existing one.
Then you will need to perform several steps:
-
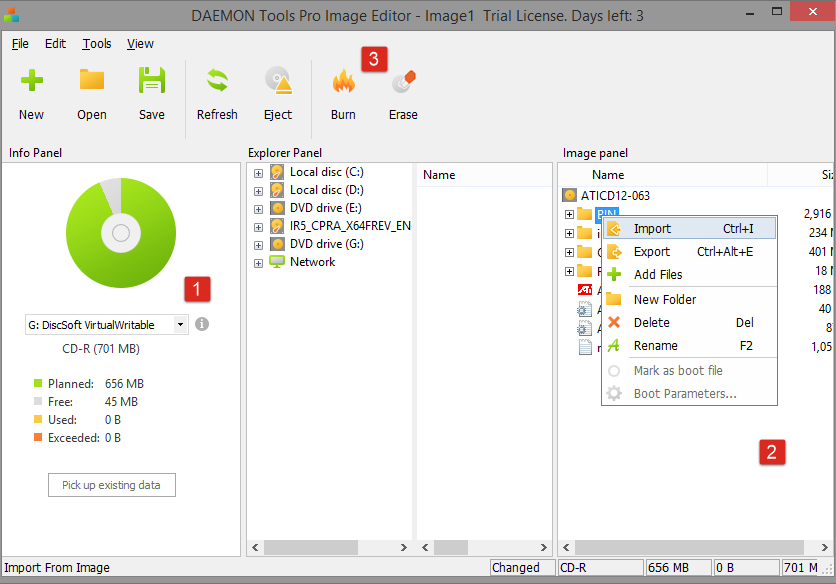
Choose the target device in Info Panel
-
Add files or folders to Image Panel. Also, you may import some data, rename or remove the files. If you are creating an Audio CD , you will be able to listen to the tracks you've added. If the disc is bootable, you may adjust the Boot parameters for the needed file.
-
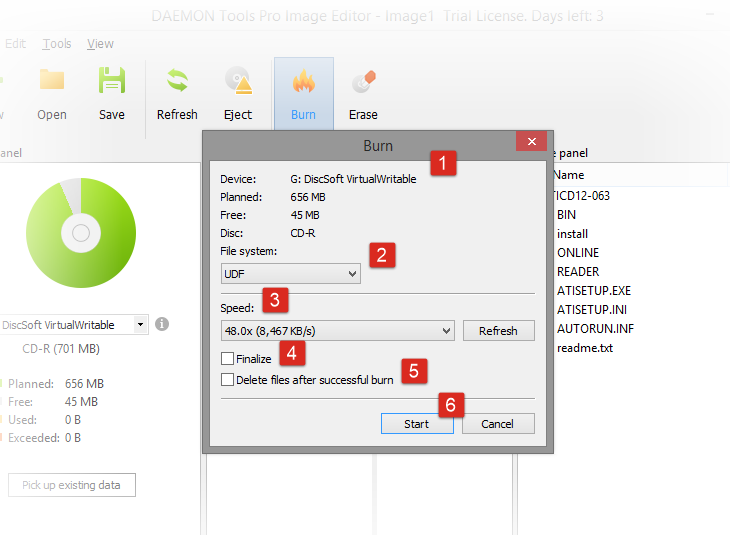
Click Burn icon on the toolbar or the similar option from Tools menu. Also, there is Burn Protected option in the menu that additionally allows you to set a password for the disc. You'll get the next list of available settings:
-
Check the device and the inserted disc.
-
Choose File system of the image. Note that you can't add files more than 2GB if you choose UDF.
-
Choose the Speed of the inserted disc.
-
Check Finalize option if you don't want to burn additional data on this disc later.
-
Check Delete files after successful burn option if you do not want to store the source files anymore.
-
Click Start button to begin burning process or Cancel button to return to the previous step.
-
While burning an Audio CD, you will get an additional option — Write Mode. Choose Disc at Once if you do not want to add 2-second gap between tracks. Track at Once option will include the gaps, so the size of the disc will be expanded slightly.
You can burn images from Image Editor too, if you open the one and click Burn icon after. Also, you can burn an image from the main interface of DAEMON Tools Pro.